


How To Make Biryani In Rice Cooker : Easy Step-by-Step Guide
June 10, 2024
Share To:
Craving that explosion of flavors and textures that is a perfectly cooked biryani? You don’t need a fancy kitchen or a professional chef’s touch to create this iconic Indian dish. In fact, with your trusty rice cooker and this guide, you can whip up a restaurant-worthy biryani right at home!
Let’s face it, traditional biryani recipes can seem intimidating. Long lists of ingredients, elaborate techniques – it’s enough to deter even the most enthusiastic home cook. But fear not, biryani lovers! This recipe utilizes the magic of your rice cooker to simplify the process while delivering incredible results.
What is Biryani?
The name “biryani” itself is believed to have Persian roots, stemming from the word “biryanj” which translates to “fried rice.” Over the centuries, biryani has blossomed into a regional specialty, taking on unique characteristics and variations across the vast expanse of the Indian subcontinent. Each region boasts its own twist on this beloved dish, using a delightful combination of spices, meats (chicken, lamb, goat, even shrimp!), and vegetables to create a biryani experience unlike any other.
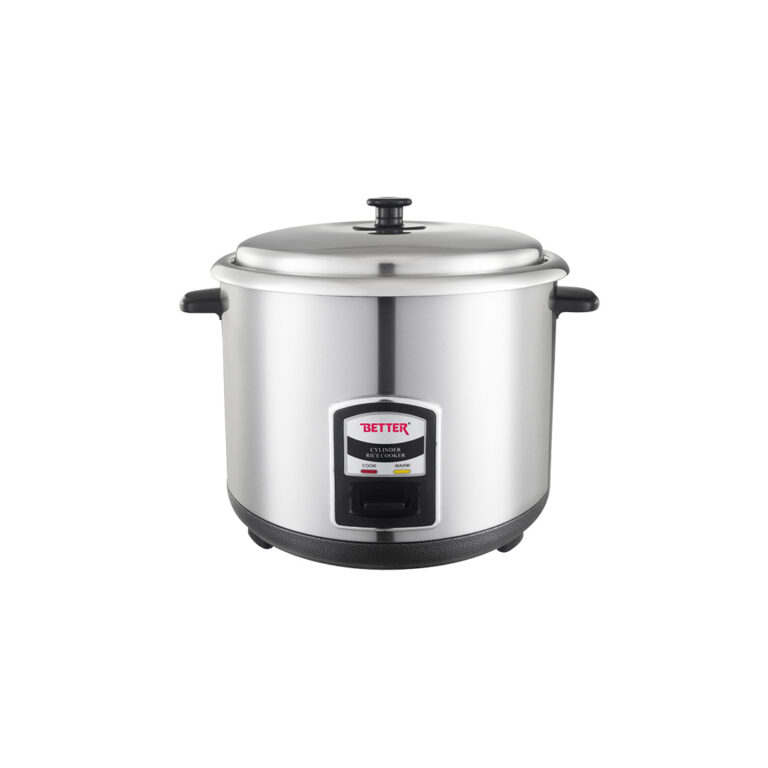
Rice Cooker to the Rescue!
While traditional biryani involves meticulously layering cooked rice and meat in a pot, the rice cooker streamlines this process. This method allows the flavors to meld beautifully while ensuring perfectly cooked rice.
Here’s the magic: the rice cooker essentially acts as a steamer, ensuring the rice cooks evenly without drying out. This is a game-changer for busy cooks or those new to biryani-making.
Gather Your Biryani Brigade: Ingredients for Success
Now, let’s get down to business! Here’s a breakdown of the ingredients you’ll need for this delicious rice cooker biryani recipe:
- Basmati Rice: This long-grain rice is a must for biryani. Its delicate flavor and fluffy texture complement the richness of the dish.
- Chicken: Boneless, skinless chicken thighs are ideal for this recipe. They cook quickly and stay wonderfully juicy.
- Yogurt: Yogurt helps tenderize the chicken and adds a touch of tang to the biryani.
- Ginger-Garlic Paste: This aromatic duo forms the base of many Indian dishes, and biryani is no exception. You can find pre-made paste at most grocery stores, or simply grate fresh ginger and garlic together.
- Lemons: A squeeze of fresh lemon juice brightens up the flavors of the biryani.
- Spices: Here’s where the magic happens! Ground coriander, cumin, turmeric, garam masala, and cloves are essential for that traditional biryani aroma. Feel free to adjust the quantities to your spice preference.
- Ghee or Vegetable Oil: Ghee, clarified butter, adds a rich flavor to the biryani. If you don’t have ghee, vegetable oil will work just fine.
- Onions: Sliced onions add sweetness and texture to the dish.
- Bay Leaves: These fragrant leaves add a subtle depth of flavor.
- Green Cardamoms: These little pods add a touch of floral aroma to the biryani.
- Peas: Frozen peas are a simple and colorful addition, but feel free to omit them or use other vegetables like carrots or green beans.
- Fresh Cilantro: A sprinkle of fresh cilantro before serving adds a vibrant finishing touch.
Step-by-Step Biryani Bliss: Cooking Like a Pro
Now that you have your ingredients assembled, let’s embark on our biryani-making journey!
- Prep is Key: Rinse your basmati rice thoroughly in cold water until the water runs clear. This will remove the excess starch that prevents the rice from becoming sticky. Soak the rinsed rice in clean water for about 30 minutes, or up to an hour. This step helps the rice cook evenly and become fluffy.
- Marinate the Chicken: In a large bowl, combine your yogurt, ginger-garlic paste, lemon juice, half of the garam masala, and a teaspoon of salt. Mix well to create a marinade. Add your chicken pieces and toss them to coat evenly. Cover the bowl and refrigerate for at least 30 minutes, or ideally, overnight. This allows the flavors to penetrate the chicken, resulting in tender, flavorful results.
- Time to Spice Things Up! Heat your ghee or oil in the rice cooker pot over medium heat. Once hot, add the sliced onions and bay leaves. Sauté until the onions become translucent and softened, about 5-7 minutes. This step adds fragrance and base flavor to the biryani.
- Spice Symphony: Add the remaining garam masala, ground coriander, cumin, turmeric, and cloves to the pot with the onions. Stir-fry for another minute, allowing the spices to release their wonderful aromas.
- Welcome the Chicken: Pour the marinated chicken pieces along with any leftover marinade into the rice cooker pot. Stir gently to combine the chicken with the fragrant spices and onions. Cook for 5-7 minutes, or until the chicken starts to lose its pink color.
- Building the Biryani Layers: Drain the soaked basmati rice and spread it evenly over the chicken mixture in the rice cooker pot. Here’s the magic: Don’t stir the rice into the chicken layer. This creates a beautiful separation of textures between the fluffy rice and the flavorful chicken.
- Flavor Boost: Gently distribute the frozen peas (or your chosen vegetables) over the rice layer. Add a sprinkle of salt and a squeeze of lemon juice to the rice for extra flavor.
- The Steaming Symphony: Pour enough water over the rice to reach about the first knuckle of your index finger when inserted into the rice cooker pot. The exact amount of water might vary depending on your rice cooker model and the type of rice used. A good rule of thumb is a 1:1.5 ratio of rice to water.
- Green Cardamom Magic: Tuck the green cardamoms whole into the rice for a subtle floral aroma.
- The Final Touch: Biryani is all about presentation! Before switching on the rice cooker, gently press a design into the rice using the back of a spoon. This is purely for aesthetics, but it adds a touch of elegance to the finished dish.
- Let the Rice Cooker Work its Magic: Close the rice cooker lid and select the “white rice” or “steam” setting. Let the rice cooker do its thing! The cooking time will vary depending on your rice cooker model and the amount of rice used. Typically, it will take around 20-25 minutes for the rice to cook.
- Rest Assured: Once the rice cooker switches to “keep warm” mode, let the biryani rest for another 10-15 minutes with the lid closed. This allows the flavors to continue to meld and the rice to absorb any remaining moisture.
- The Grand Finale: Fluff the cooked biryani gently with a fork, taking care not to break the rice grains. Garnish with fresh cilantro and serve hot.
Biryani Bliss on a Plate: Tips for Serving and Enjoying
Your restaurant-worthy rice cooker biryani is ready! Here are some tips for serving and enjoying this delicious dish:
- Accompaniment Symphony: Biryani is traditionally served with a side of raita, a cooling yogurt-based dip with cucumber and mint. You can also pair it with a simple green salad or a vegetable curry for a complete meal.
- Presentation is Key: Plate your biryani with pride! The beautiful separation of rice and chicken layers adds a visual appeal to the dish.
- Leftovers are Lovely: Biryani tastes even better the next day! The flavors have time to meld further, resulting in a deeper and more complex taste.
Beyond the Basics: Biryani Variations and Experimentation
This recipe is a fantastic starting point for your biryani journey. Feel free to explore different variations and personalize it to your taste:
- Vegetarian Delight: Skip the chicken and add your favorite vegetables like potatoes, green beans, and cauliflower for a vegetarian version.
- Spice It Up: Like things a bit hotter? Add a chopped green chili pepper or increase the amount of red chili powder in the marinade.
- Seafood Symphony: Love seafood? Replace the chicken with shrimp, prawns, or fish for a delicious twist.
The Final Simmer: Why Rice Cooker Biryani is a Must-Try
This rice cooker biryani recipe is a game-changer for busy cooks or those new to Indian cuisine. It delivers restaurant-worthy flavor and texture without the hassle of complicated techniques. So, the next time you’re craving a taste of India, grab your rice cooker and whip up this amazing biryani!
With a little practice and these tips, you’ll be a biryani pro in no time. Now go forth and create your own Biryani bliss!