


Are you thinking of getting a new non-stick pan, getting tired of cleaning iron pans that frequently accumulate stuck-on food? Well, what if I tell you that you don’t need to get a new one? Yes, you heard it right, you don’t need to buy a new non-stick pan.
Confused why? It’s because in this blog we will be discussing how to make your iron pan non-stick. So, to know how to make the iron pan you have a non-stick pan you’ll need to stay till the end of this blog. Without any delay let’s find out how you can turn your iron pan non-stick.
Seasoning: Making Iron Pan Non-Stick
One of the answers to the question of how to make an iron pan non-stick is by seasoning. Seasoning is the process of creating a natural non-stick surface on the iron pan by applying and polymerizing oil.
Seasoning involves coating the iron pan with a thin layer of oil and then heating it to a high temperature so that the oil bonds with the iron to form a durable layer. When the pan is used over a period and with exposure to heat and oil while cooking, the non-stick properties of the pan will enhance further.
The Seasoning Process
Now that you know what you need to do to make your pan non-stick, a question of how to make it non-stick might be popping on your mind. So, to help you out we’ll be going through the seasoning process. Following are the steps you’ll need to follow to make your iron pan non-stick.
Step 1: Preparing the Iron Pan
The first thing to start with when seasoning an iron pan is cleaning the iron pan and making it ready for seasoning. For this, wash the iron pan with hot water and soap.
After you complete washing, make sure it dries completely. You can heat it on a stove cooktop or even use towels to wipe water out. Make sure there exist no residues in the pan.
Step 2: Preheating the Oven
You cannot season the cold cast iron so the first step in seasoning your pan is to preheat the oven. There are several opinions on the ideal temperature for heating your oven. But you can use a temperature range between 275 Degrees (F) to 300 Degrees (F) to make it work for seasoning.
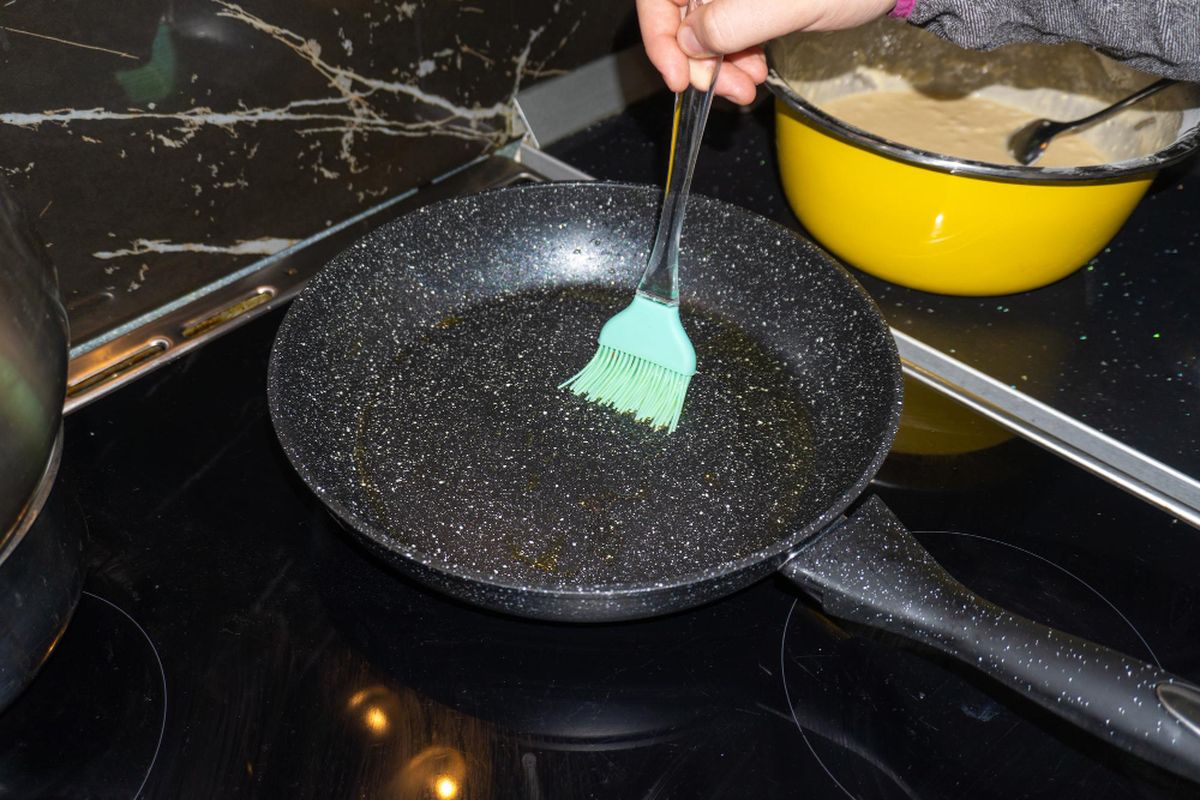
Step 3: Applying Oil
The next thing to do in the process of making iron pan non-stick is to apply oil on the surface of your iron pan. For seasoning to work best, make sure you use oil that has a hard finish and a high smoke point. The high smoke point means the ability of oil to withstand a high amount of heat without smoking or breaking down.
For seasoning purposes, you can use refined coconut oils that have a high smoke point of around 350℉. Also, the smoke point of refined olive oil ranges from 410-430℉.
Apply the oil to the surface of the pan. Make sure the oil is evenly distributed over the entire area of the pan. You’ll need a thin layer of coating so you can wipe off the excess oil with a towel as you like.
Step 4: Baking the Pan
When you finish the oiling of the iron pan, it’s time to bake the pan in the preheated oven. For this, you need to turn the pan upside down and then place it in the oven.
You might find the idea of placing the pan upside down a bit surprising, but baking the pan upside down makes the surface even smoother.
The ideal time for baking the pan would be around an hour. After baking for an hour, turn off the oven, take the pan out, and wait until it cools down.
Step 5: Repeating the Process
There are chances that you might not get the desired coating in the first baking. So, to achieve a smooth finish, you’ll need to repeat the process of applying oil and baking a couple of times more.
Once you repeat the seasoning process a few more times, you’ll eventually find your iron pan having sleek black looks that reflect light. When you achieve that, you have completed seasoning and converted your iron pan into non-stick. So, the only thing remaining now is to give it a try by making a pan pizza in your fry pan.
Step 6: It’s not over yet
Seasoning is not a one-time process and won’t last for the lifetime of the pan. While it depends upon the frequency of use of the iron pan, it will be great if you season your pan two to four times per year for best results.
Keeping Iron Pan Non-Stick for Long Run
Going through the steps on how to make an iron pan non-stick, you might have realized that seasoning is not a one-time process. To make your pan non-stick you’ll need to apply the seasoning process a couple of times a year.
However, there are a few things you can follow to keep your iron pan non-stick for the long run. Following are some of the things you need to keep in mind for keeping your pan non-stick for extended period of time:
- Avoid cooking liquids such as soups as they develop a reasonably strong layer of polymerization.
- Clean your iron pan immediately after using it, add ups of food debris in the pan can affect the seasoning.
- Don’t use tough abrasives such as scrubby metal pads as they can scrape the layer of seasoning. You can use a soft sponge for cleaning.
Conclusion
You have the option to make your iron pan non-stick by seasoning it. Seasoning is the process of creating a natural non-stick surface on the iron pan by applying and polymerizing oil. Following a few easy steps of seasoning you can make your iron pan non-stick so that your food doesn’t stick on your pan.
However, if you are thinking of replacing your iron pan if it’s too old then look no further than pans from Better Home Appliances. At Better, we have a wide range of non-stick pans and cookware that are ready to use and you no longer need to worry about seasoning.